Nanotron 3000
Because of the immense amount of time it will take to brute force the 3G and the 4G by hand, the Linux4nano team has hatched an ambitious idea. We have decided to build a brute forcing robot with LEGO Mindstorms. We can leave this bot running overnight and hopefully find out the correct addresses. If the LEGO idea is not feasible we can resort to using transistors like Sto used on the 2G. This would be more expensive but easier IMO.
Contents
Nanotrons
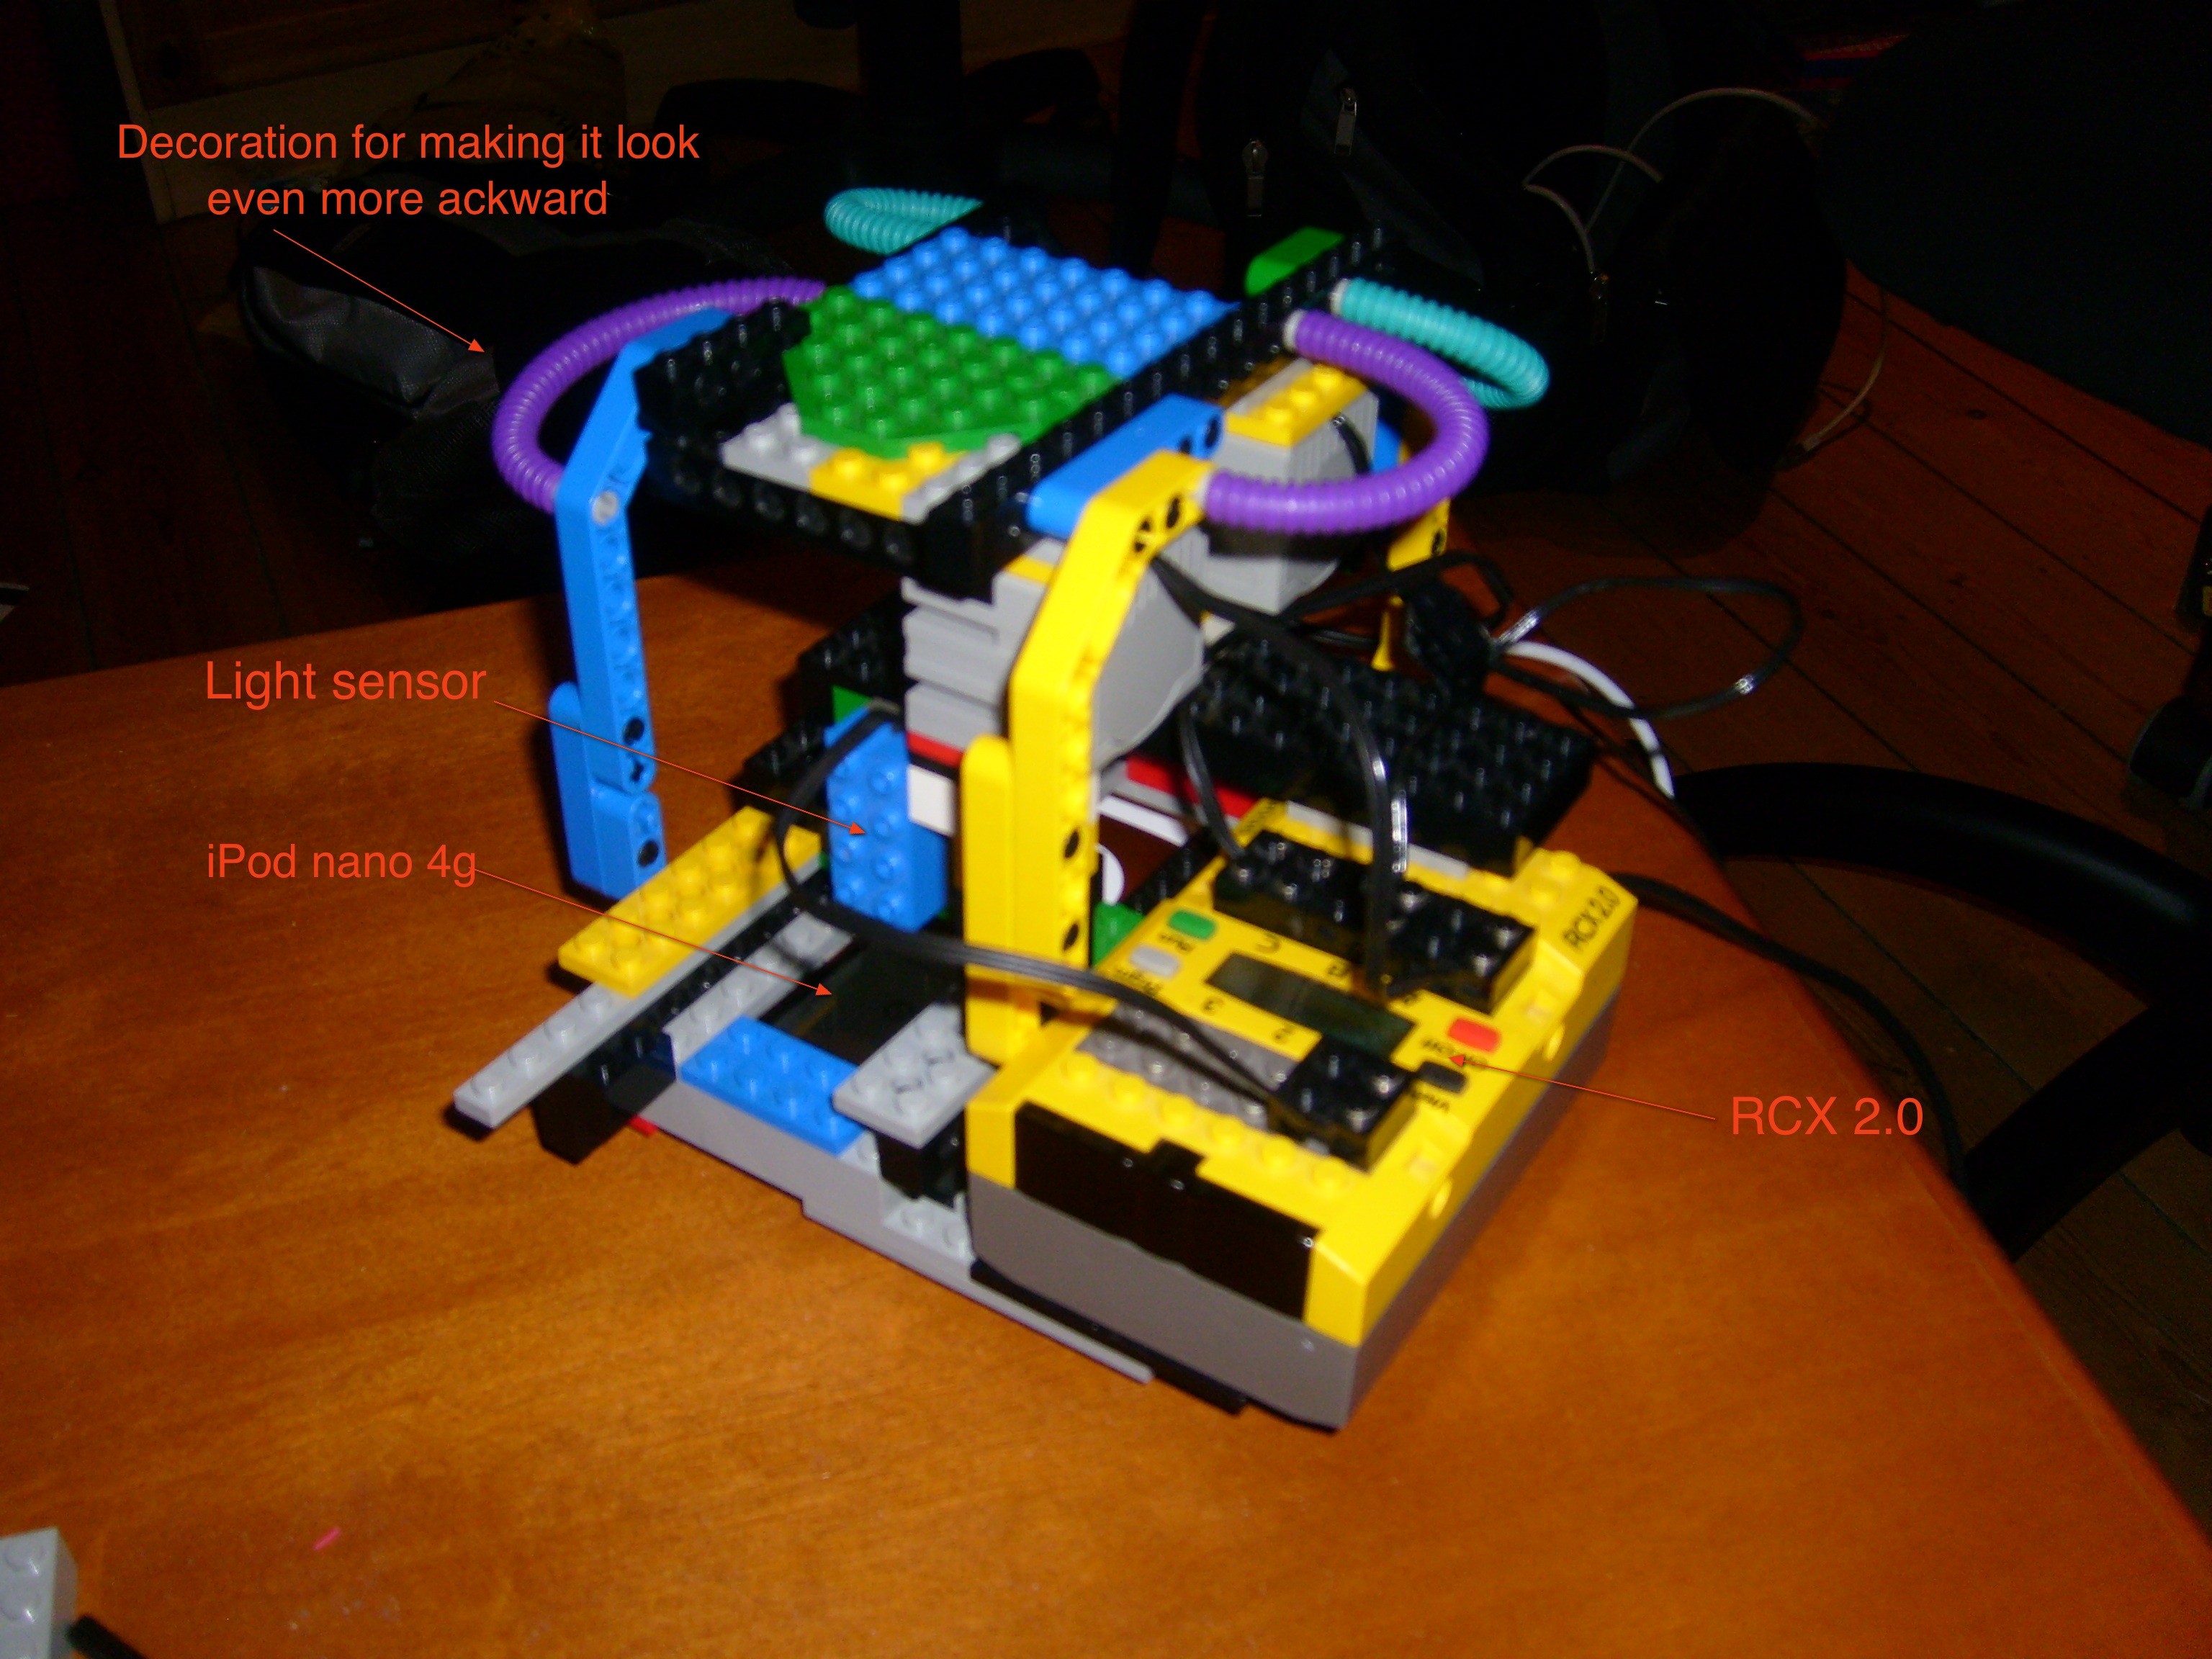
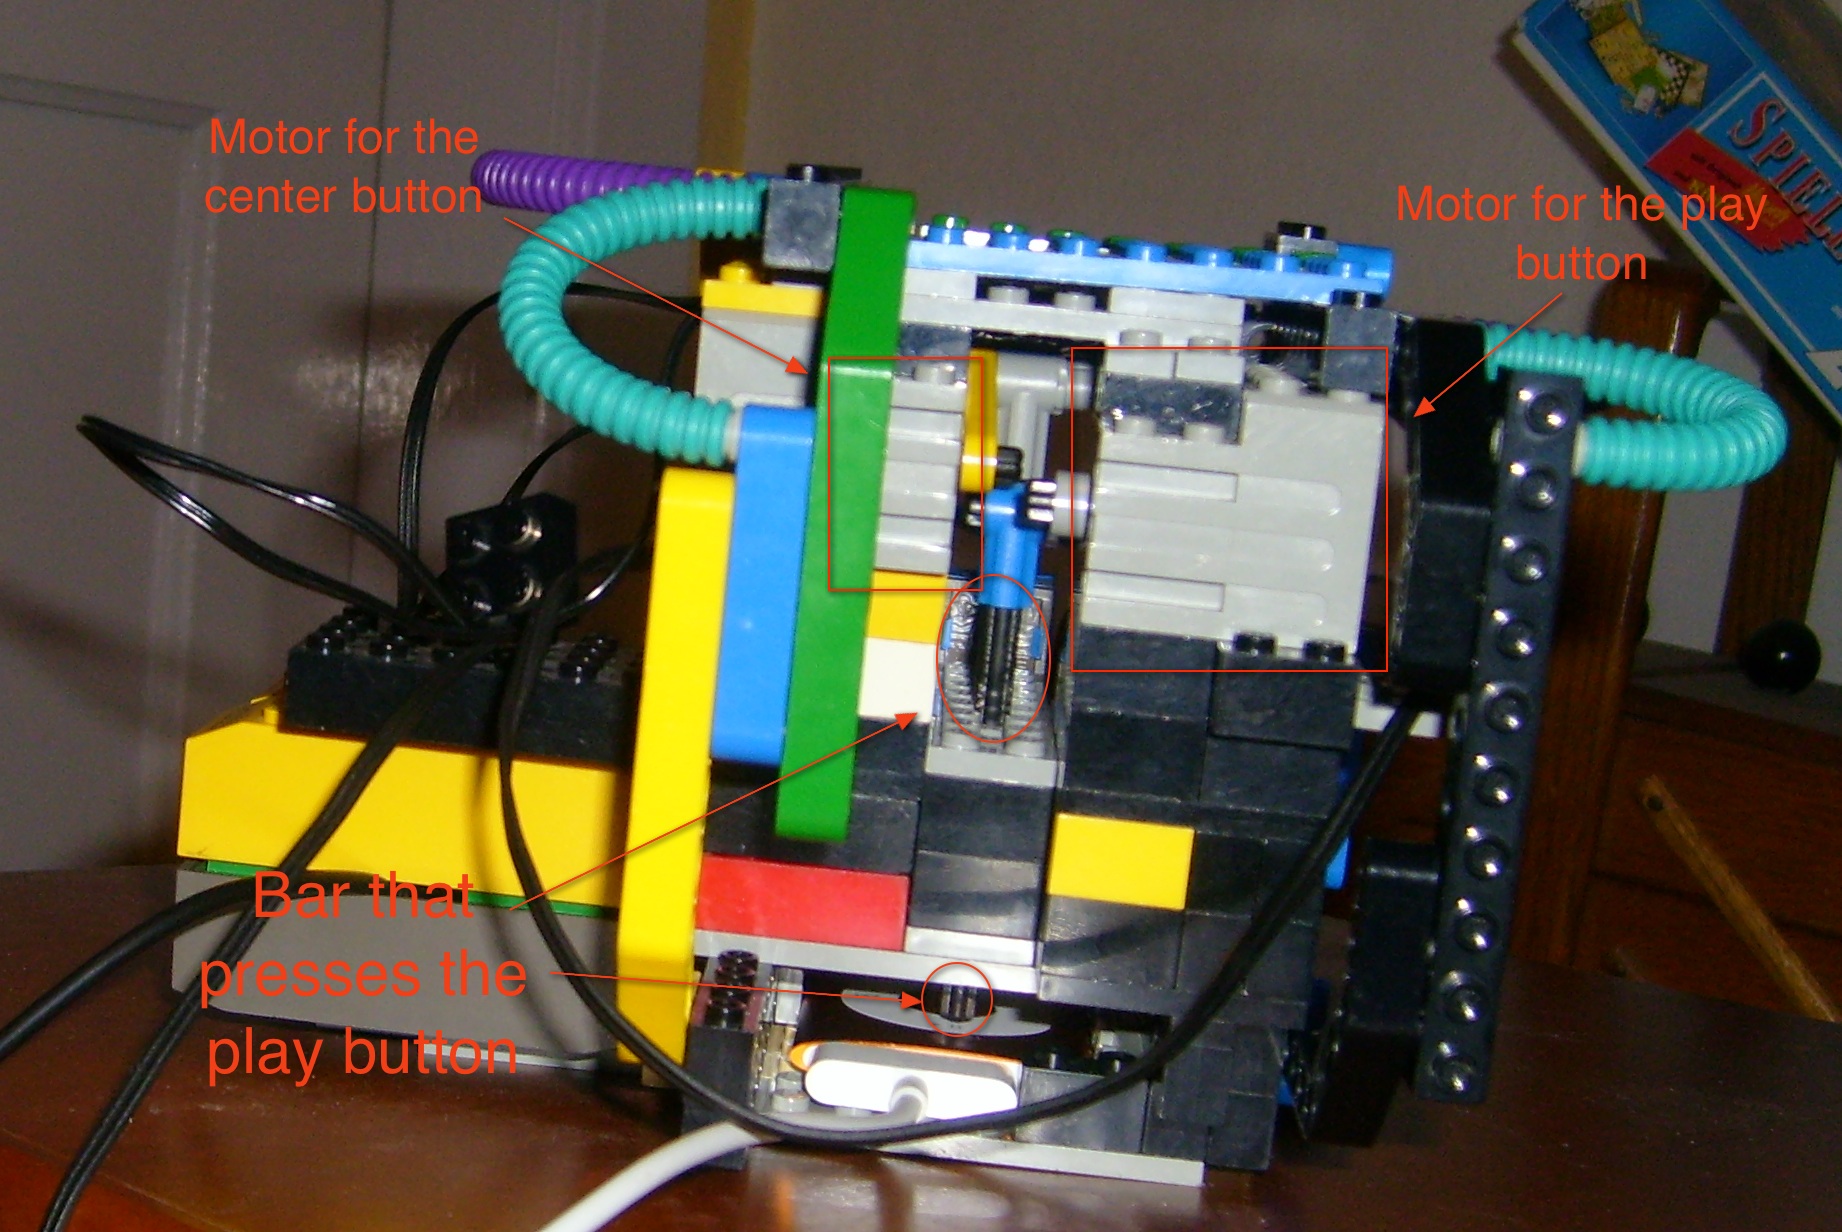
Farthen
This is my first nanotron. I had some mechanical difficulties and needed to rebuild it. I'll upload some pictures of the second one at some time.
Specific technical details of my nanotron
- motor for pressing menu is connected to motor slot 1
- motor for pressing select is connected to motor slot 2
- motor for pressing play is connected to motor slot 3
- all motors press the buttons when powered to the "upright" direction
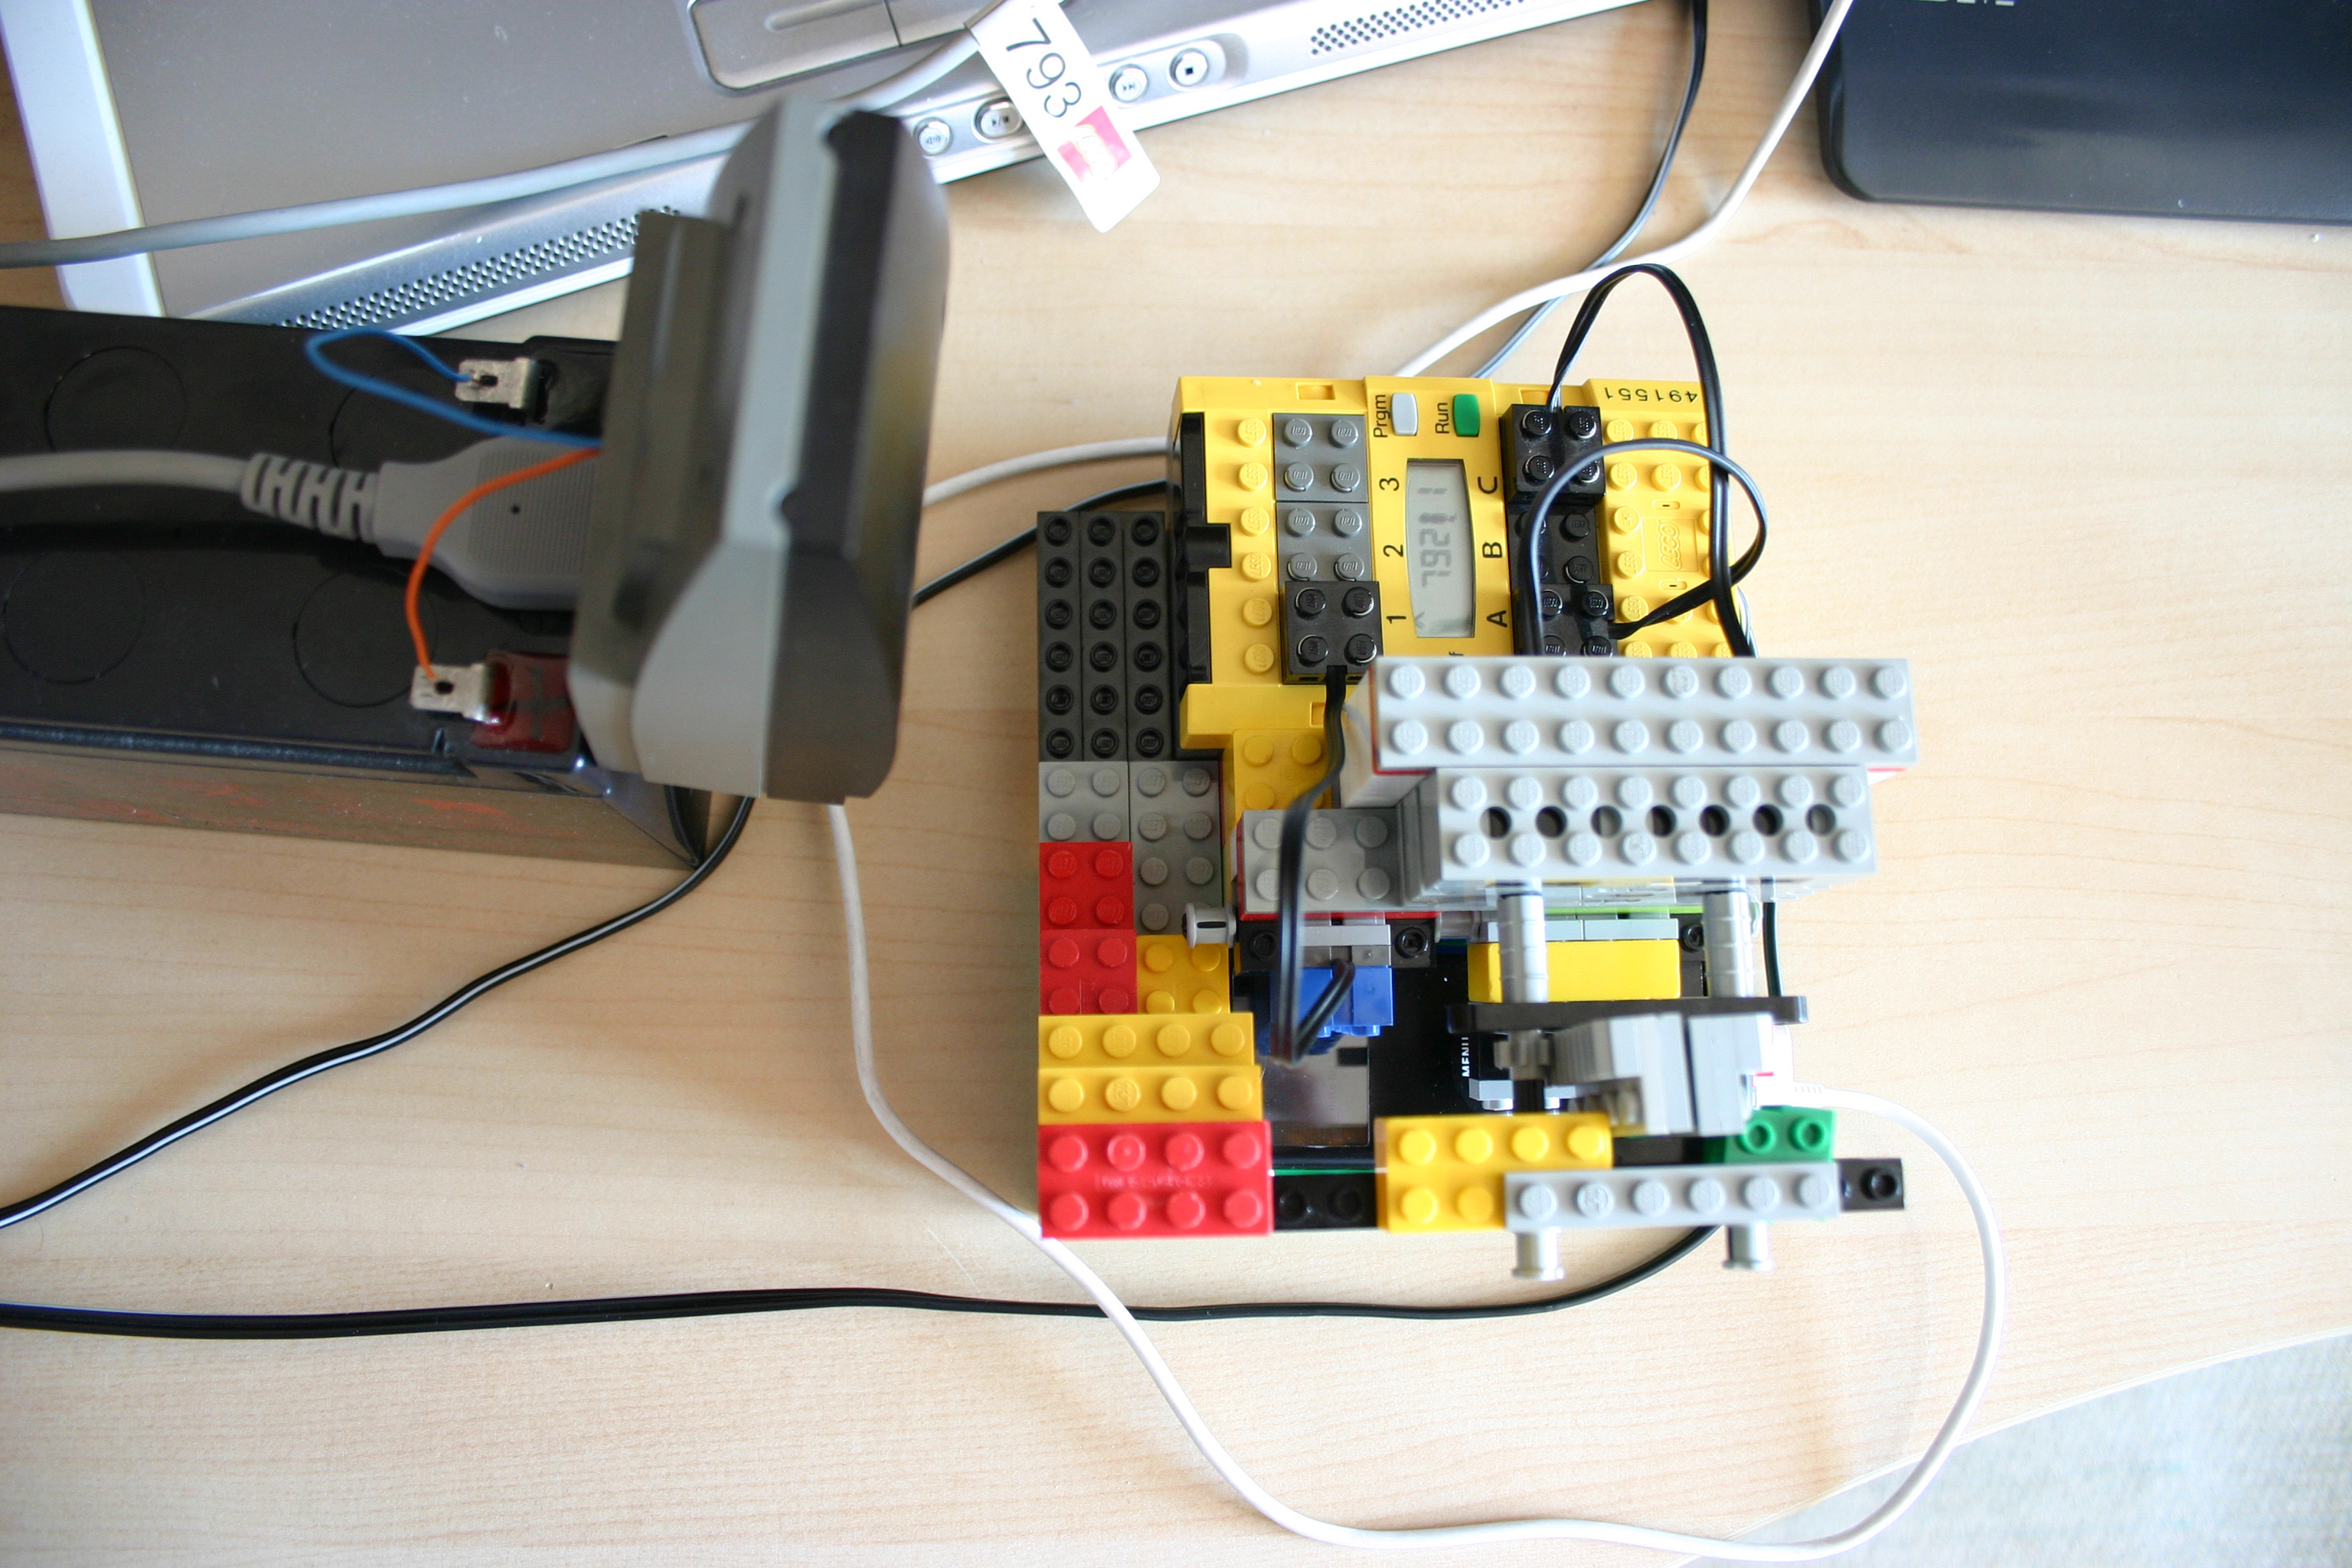
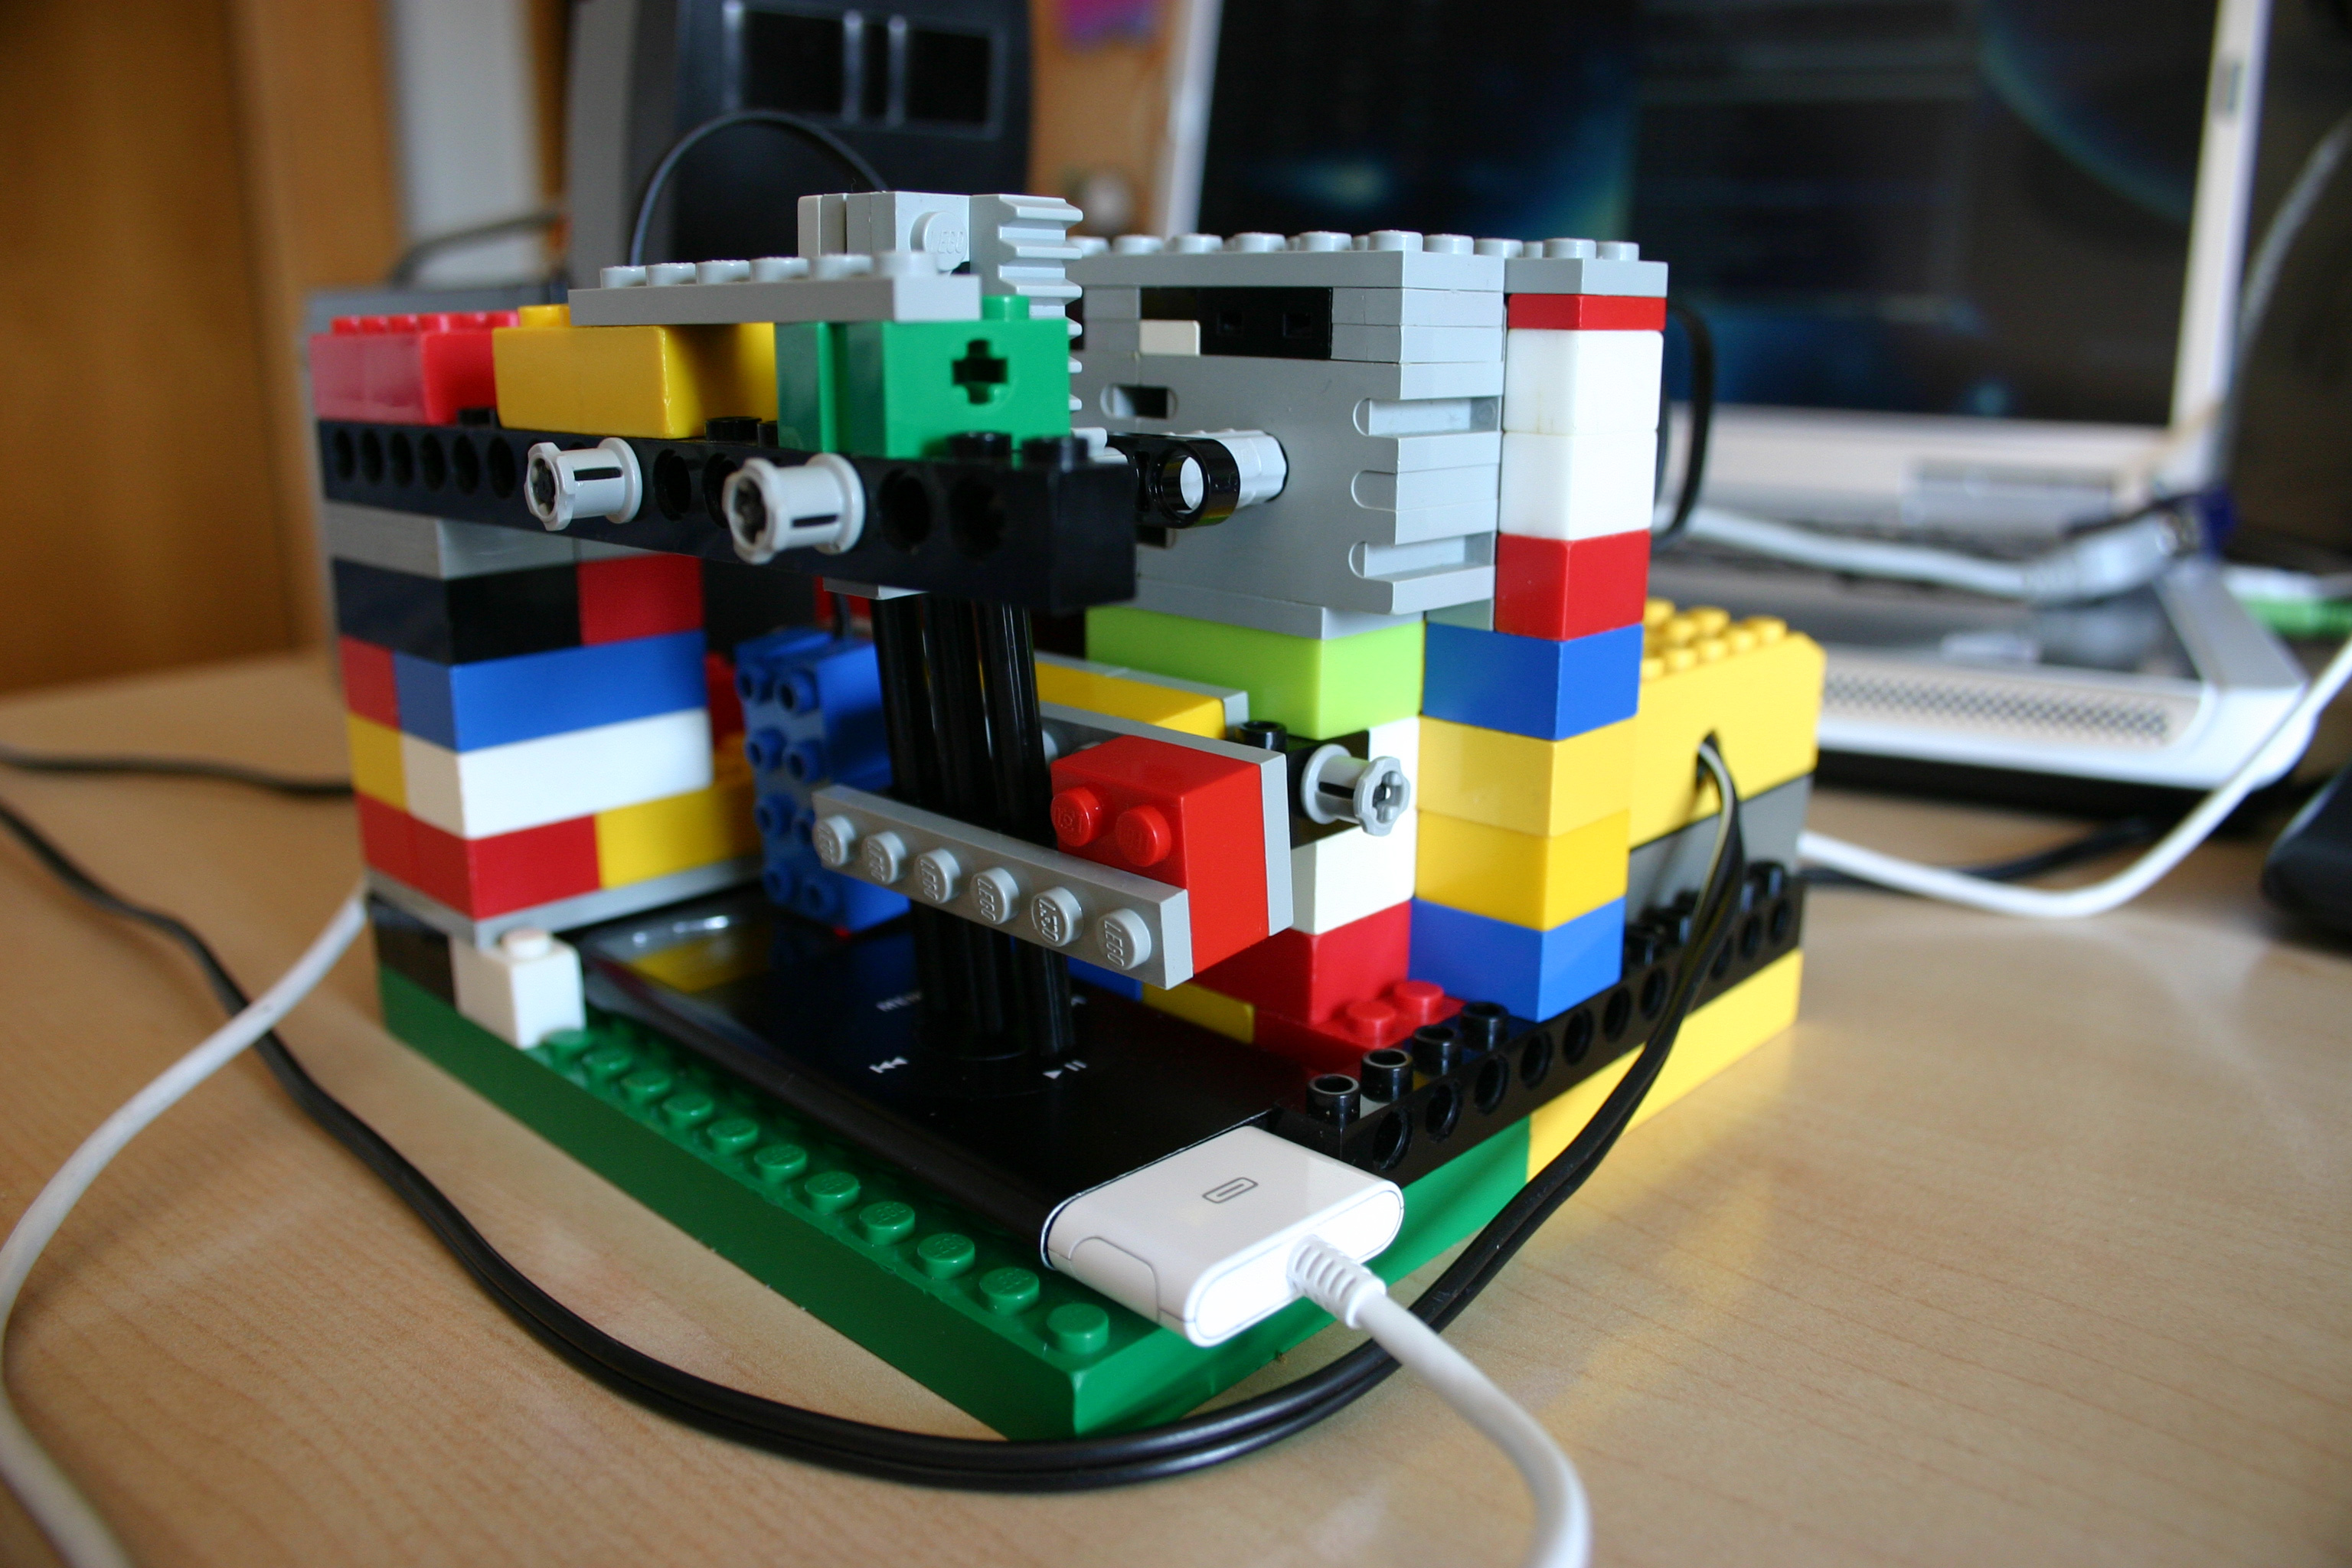
TheSeven
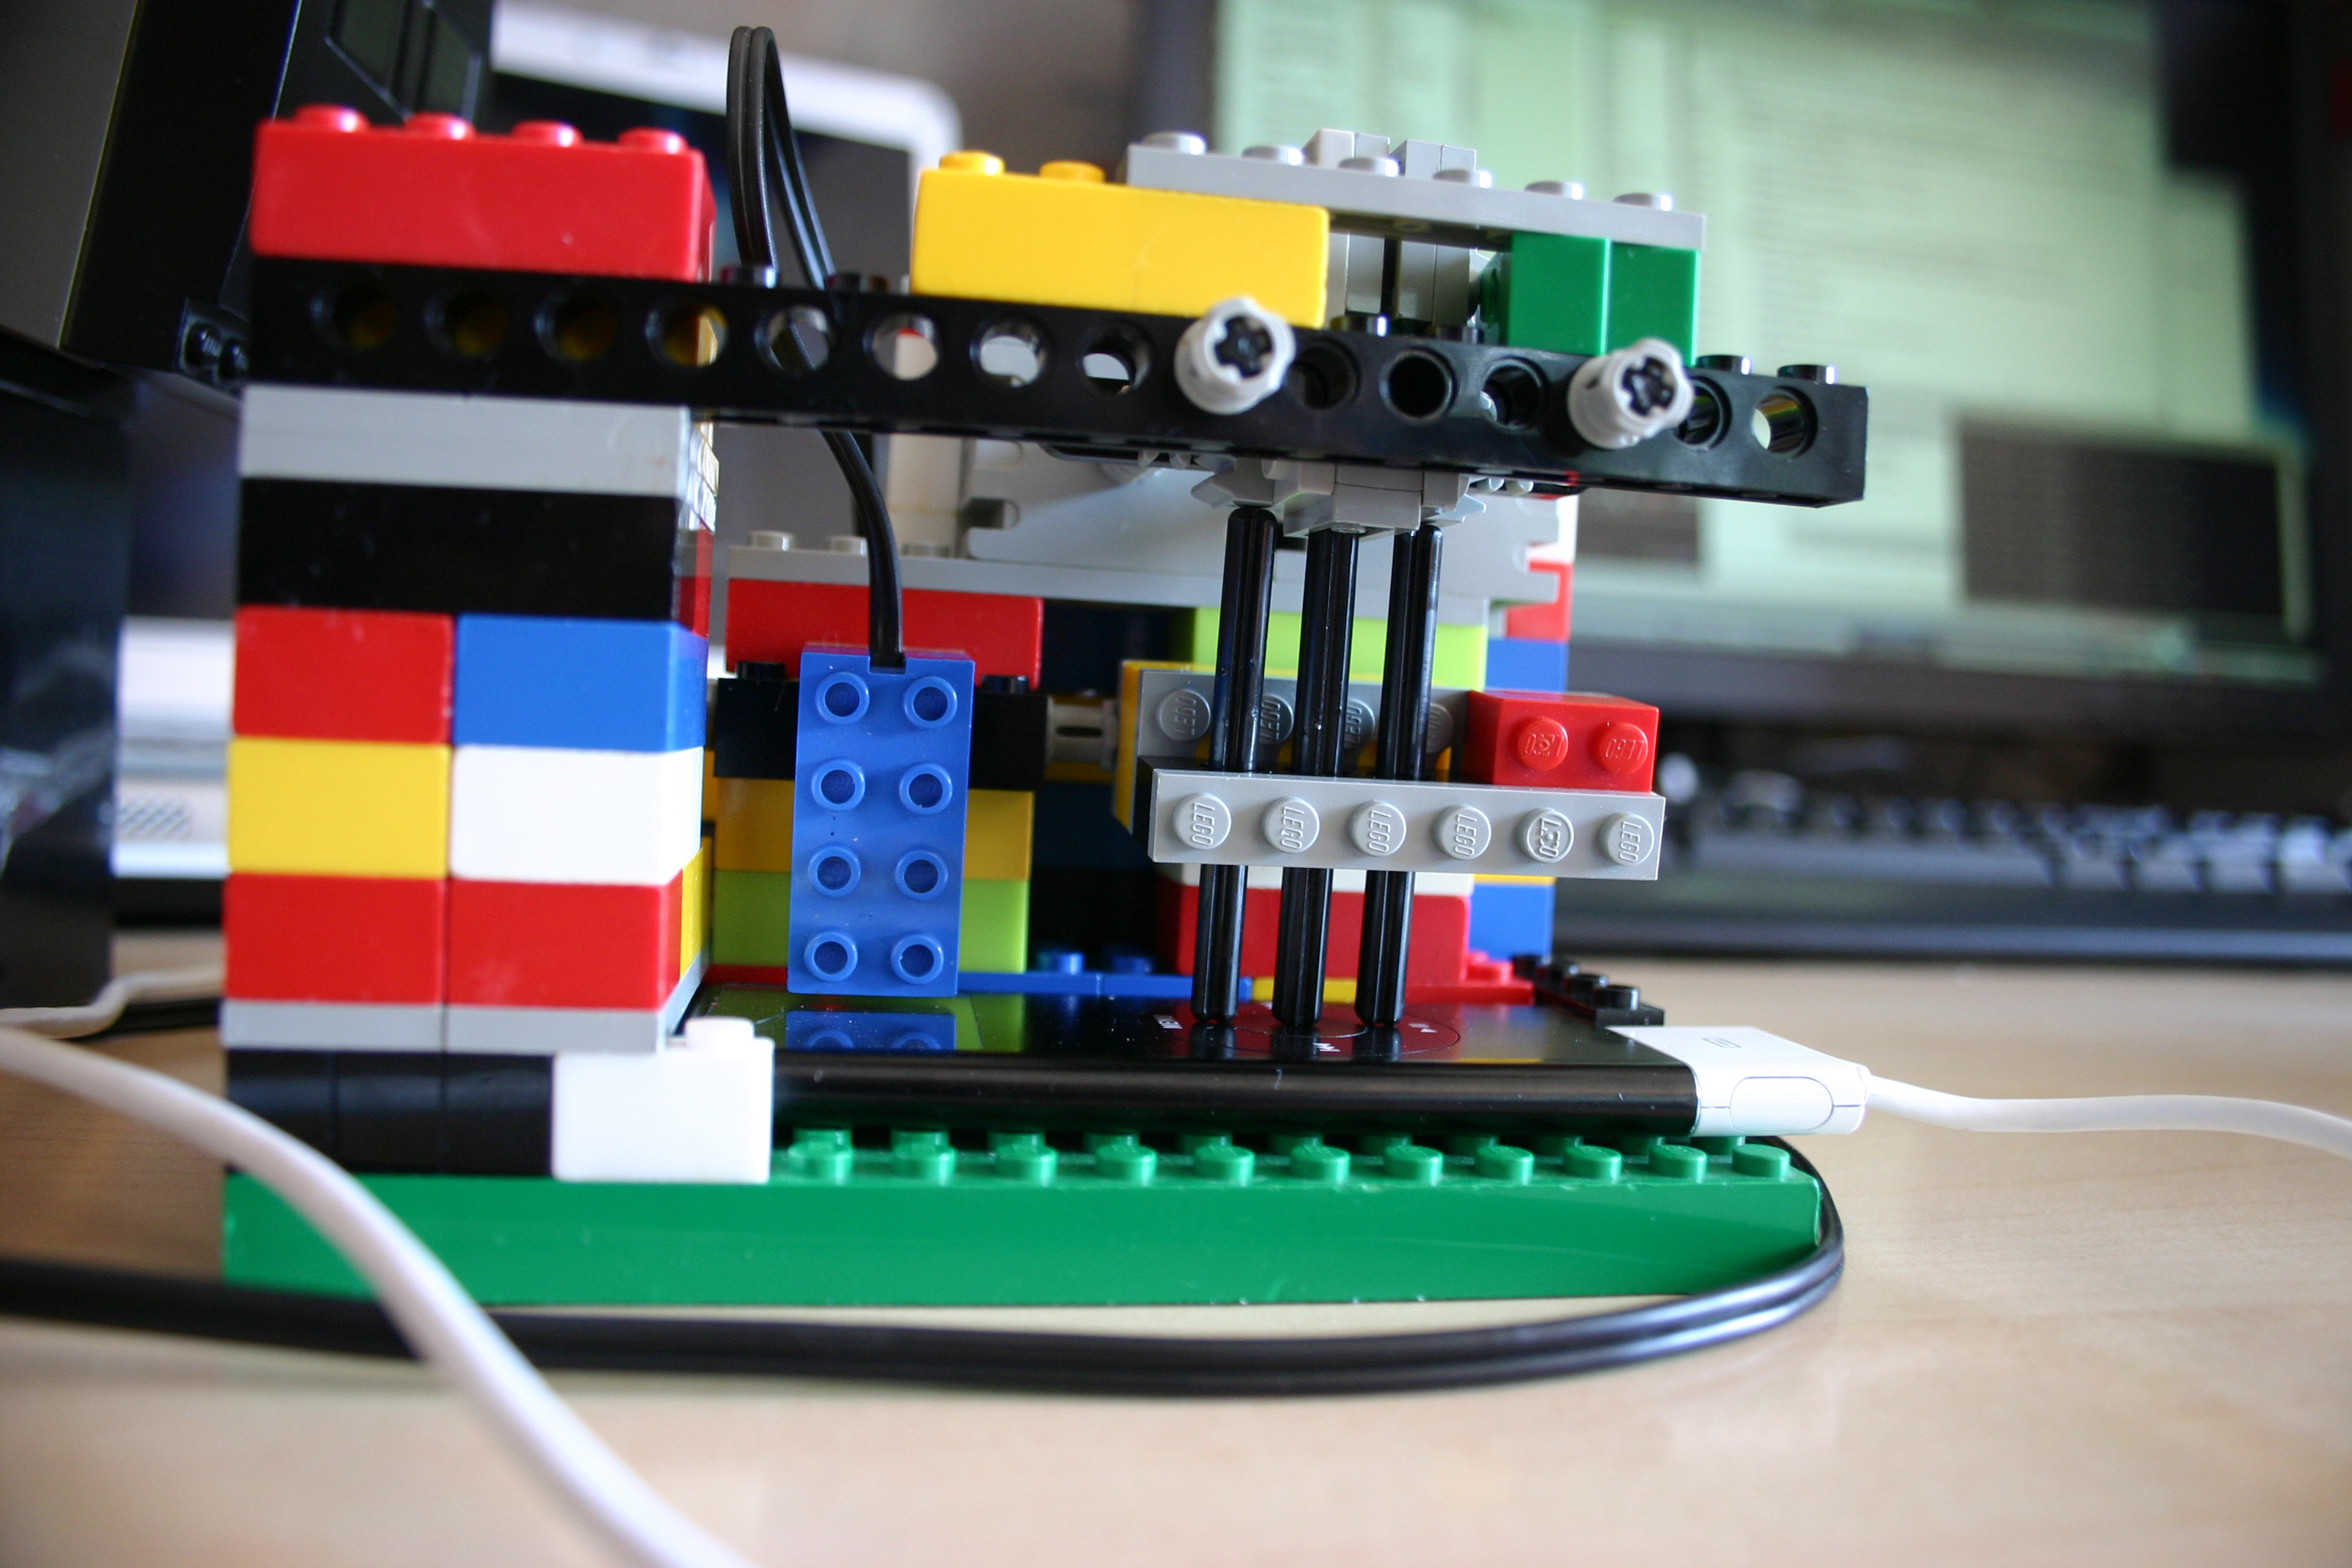
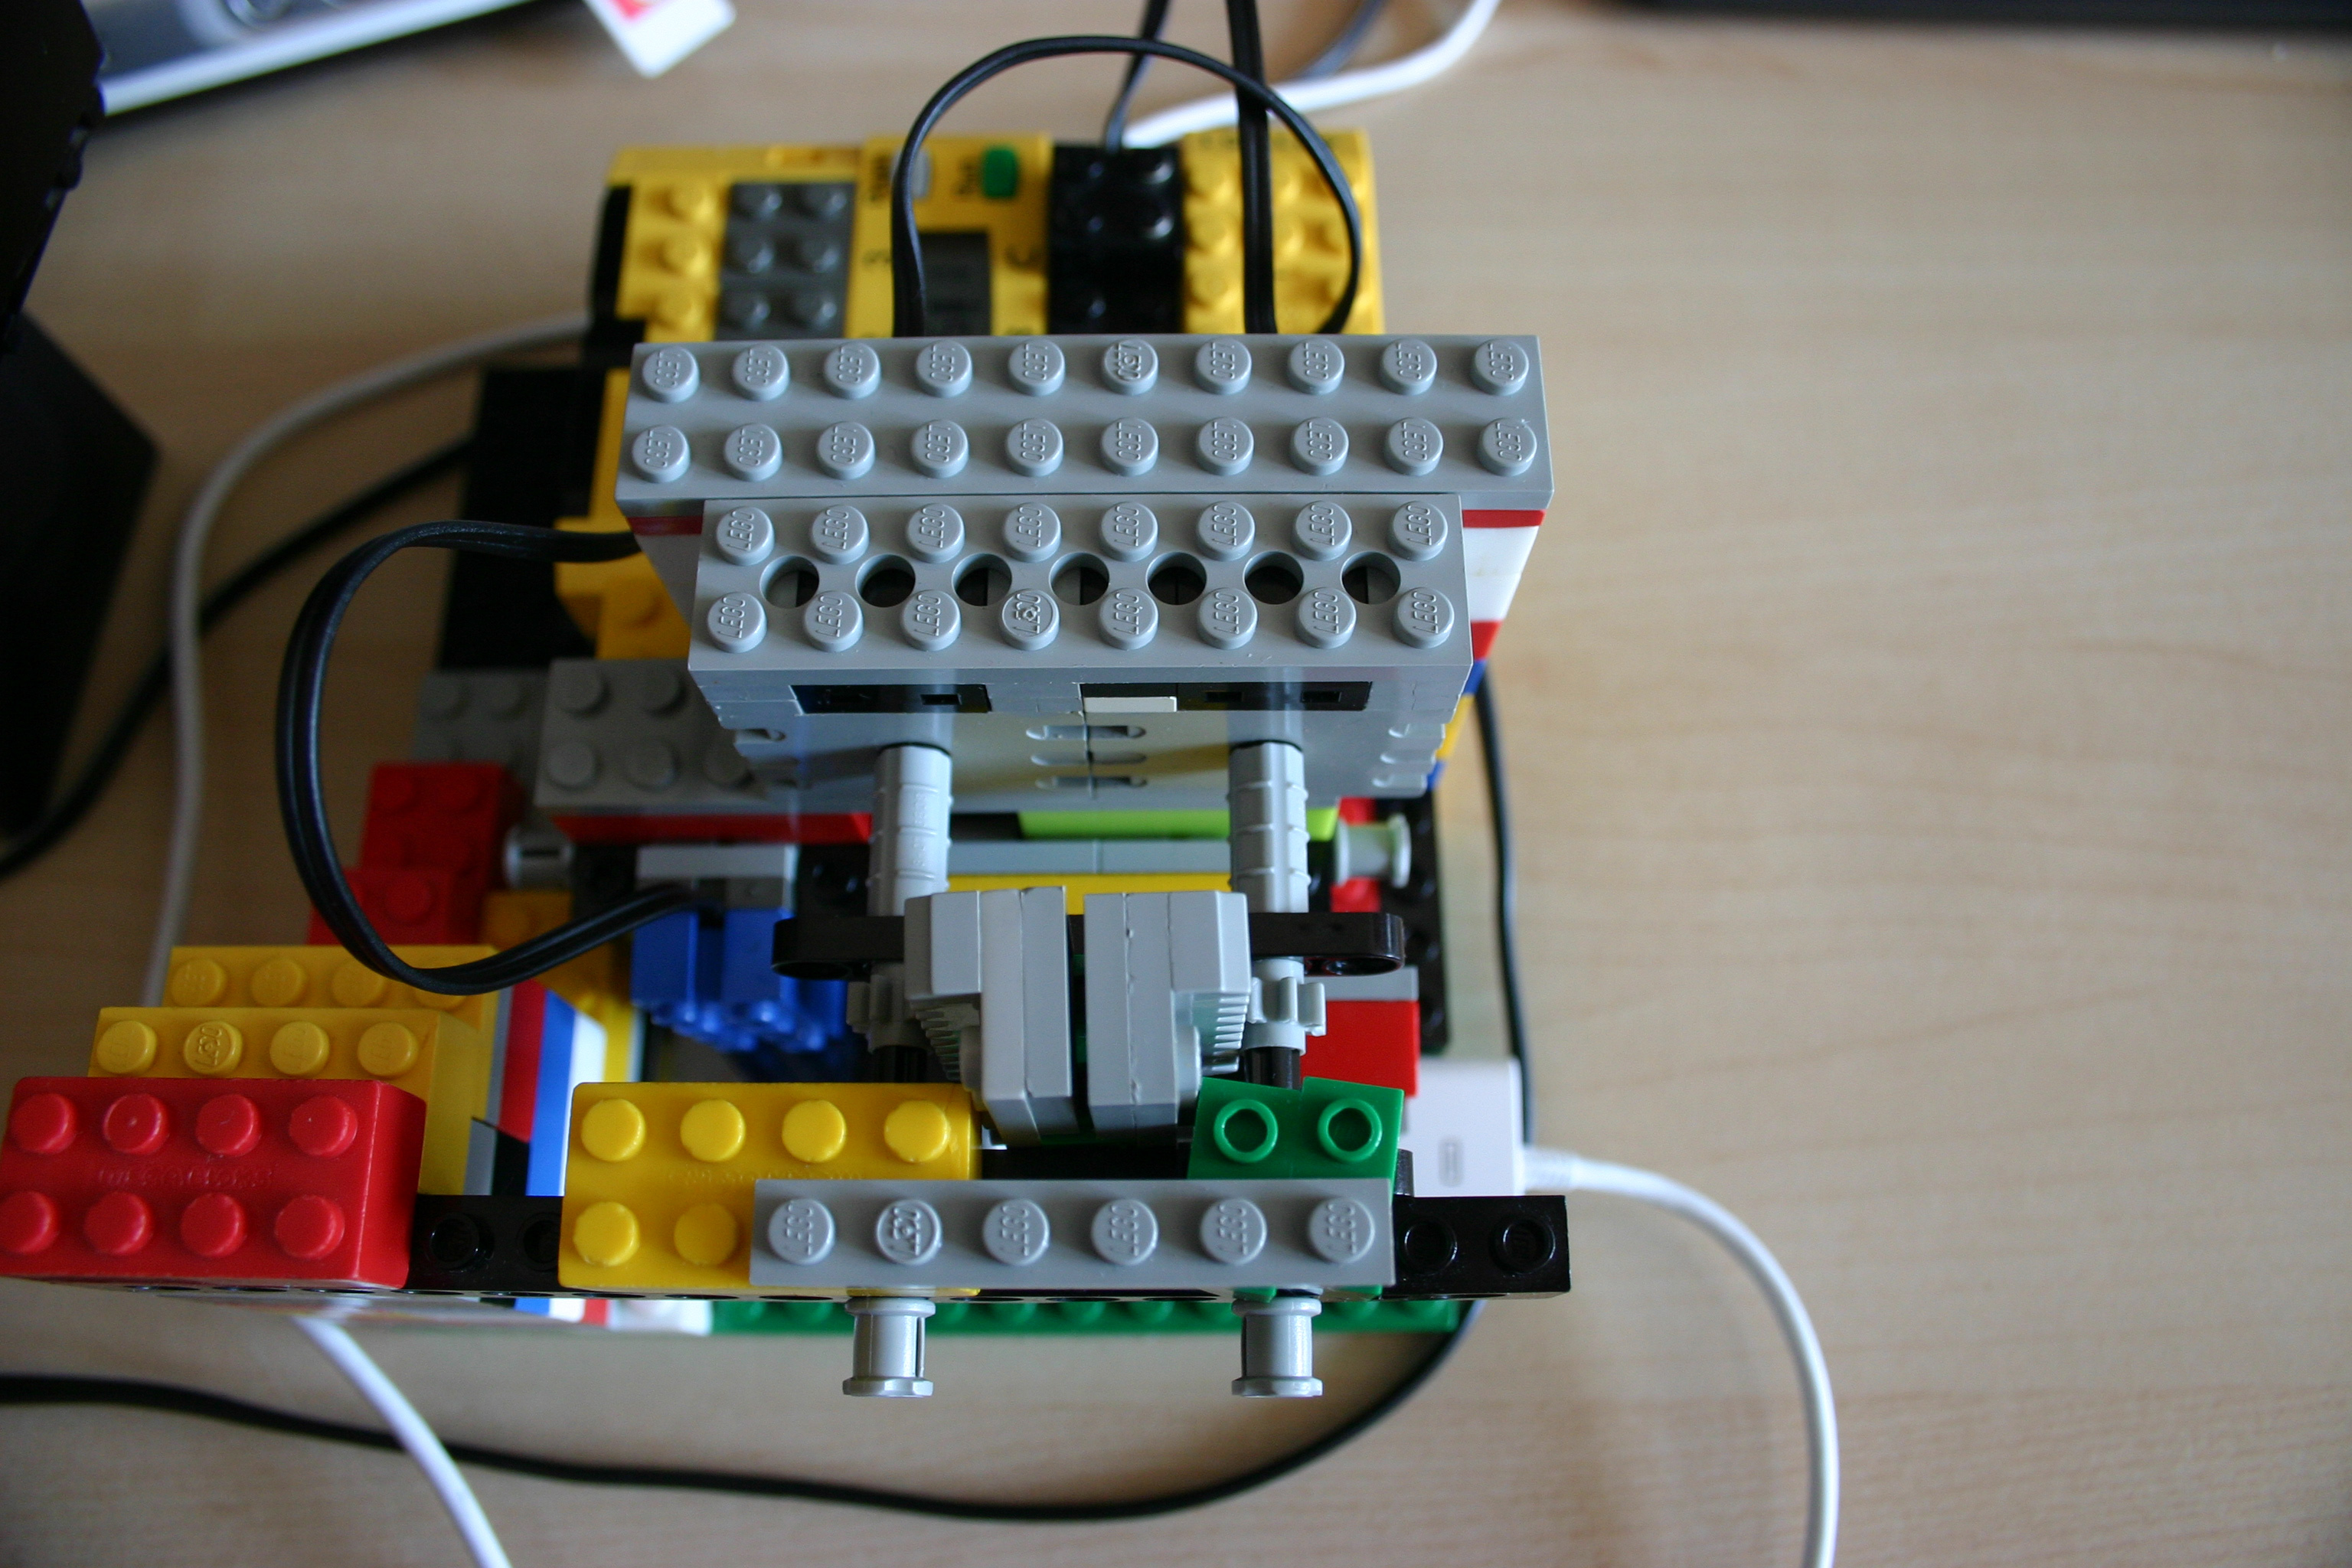
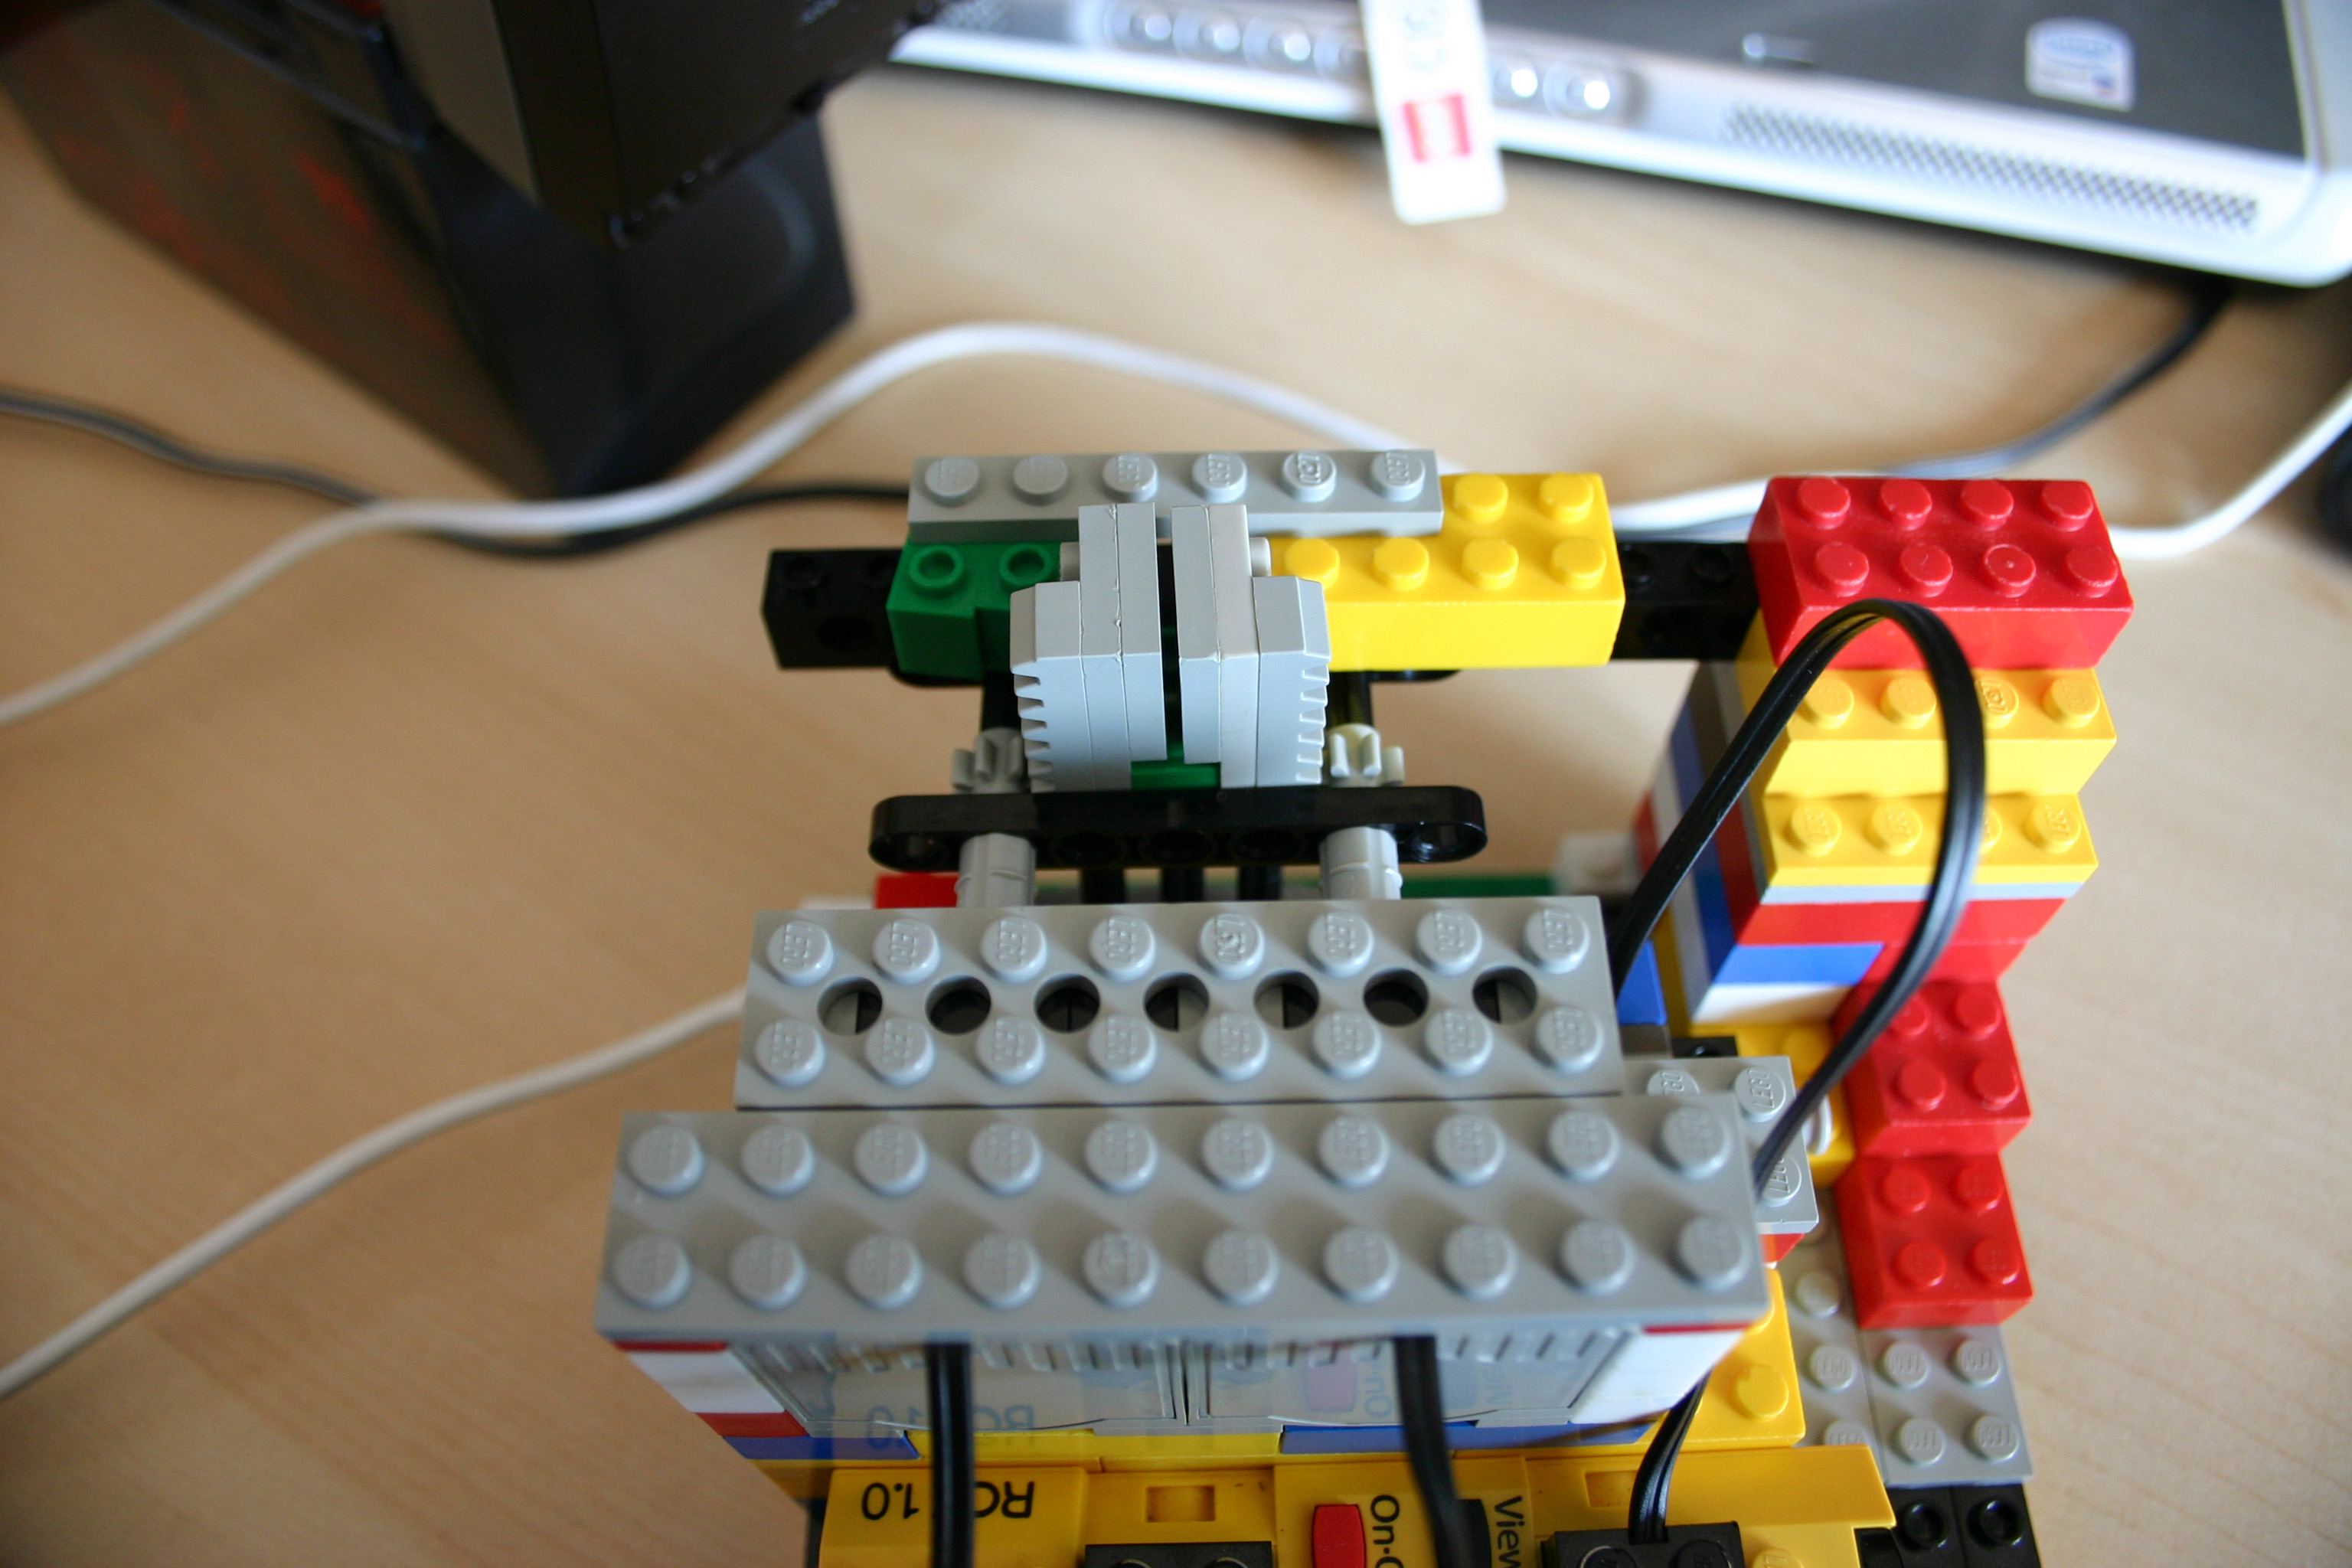
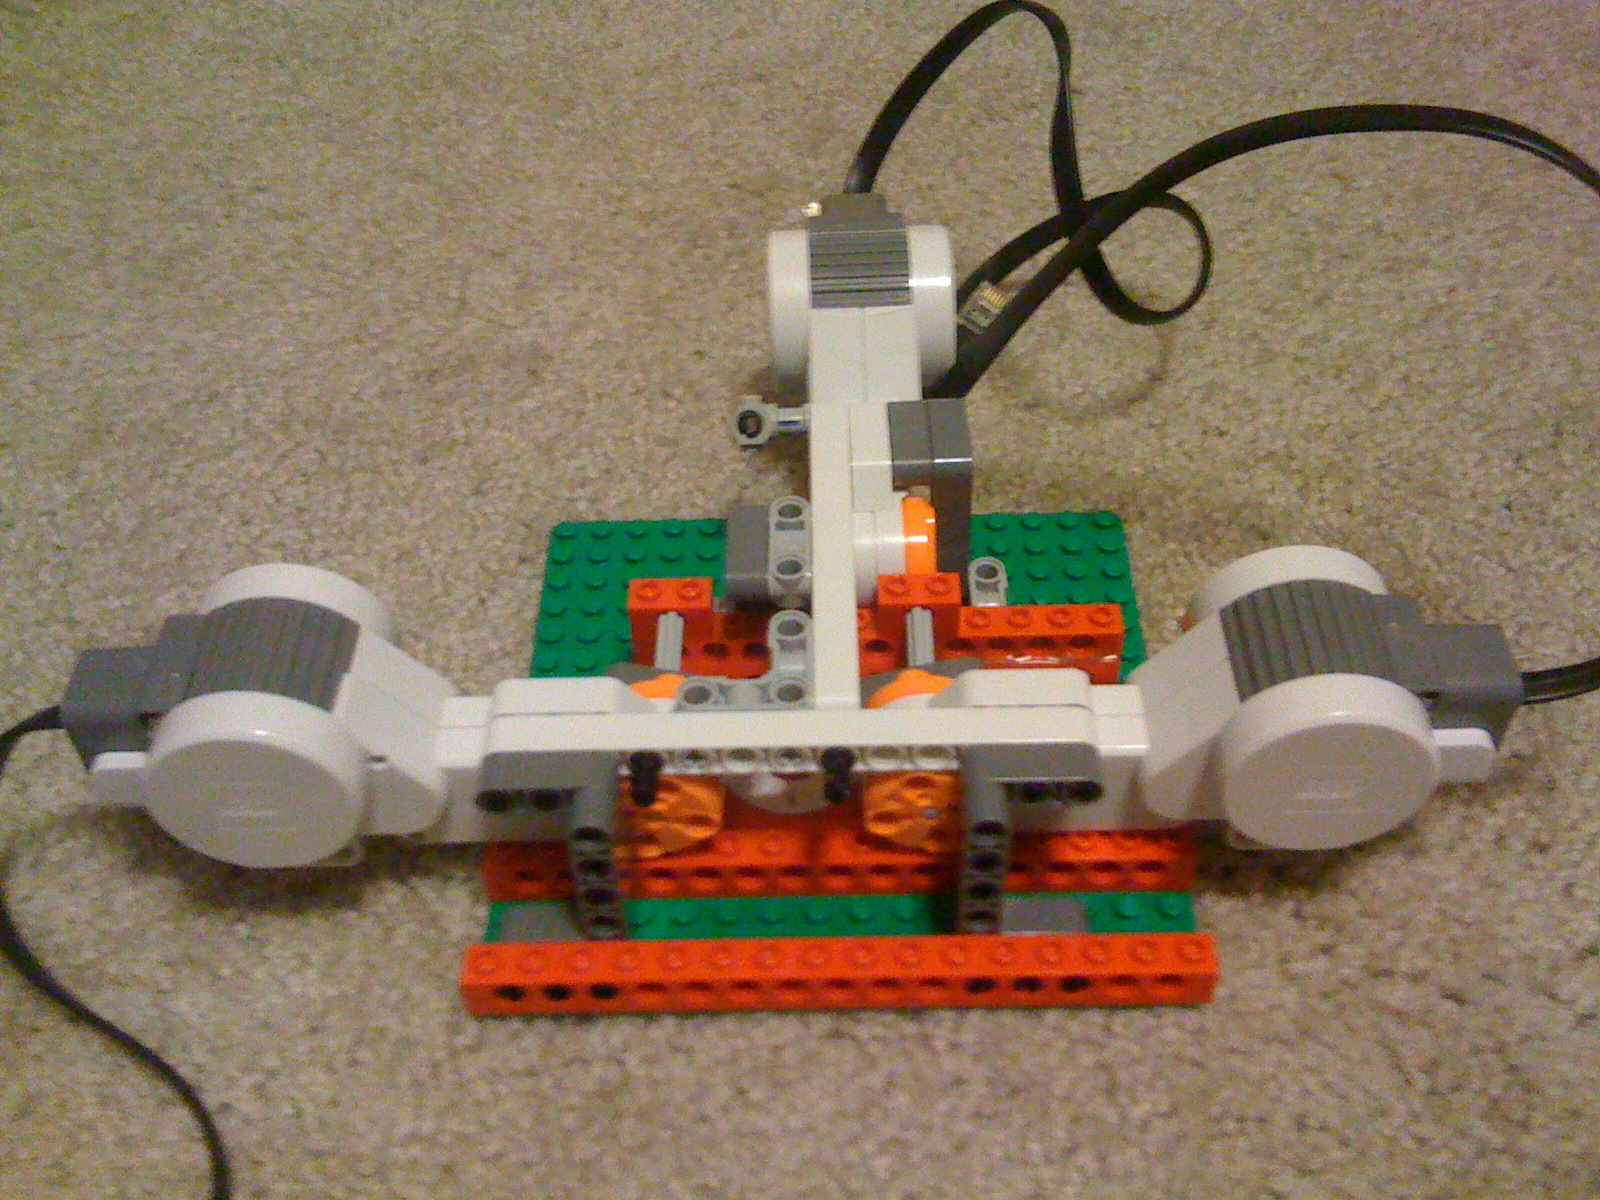
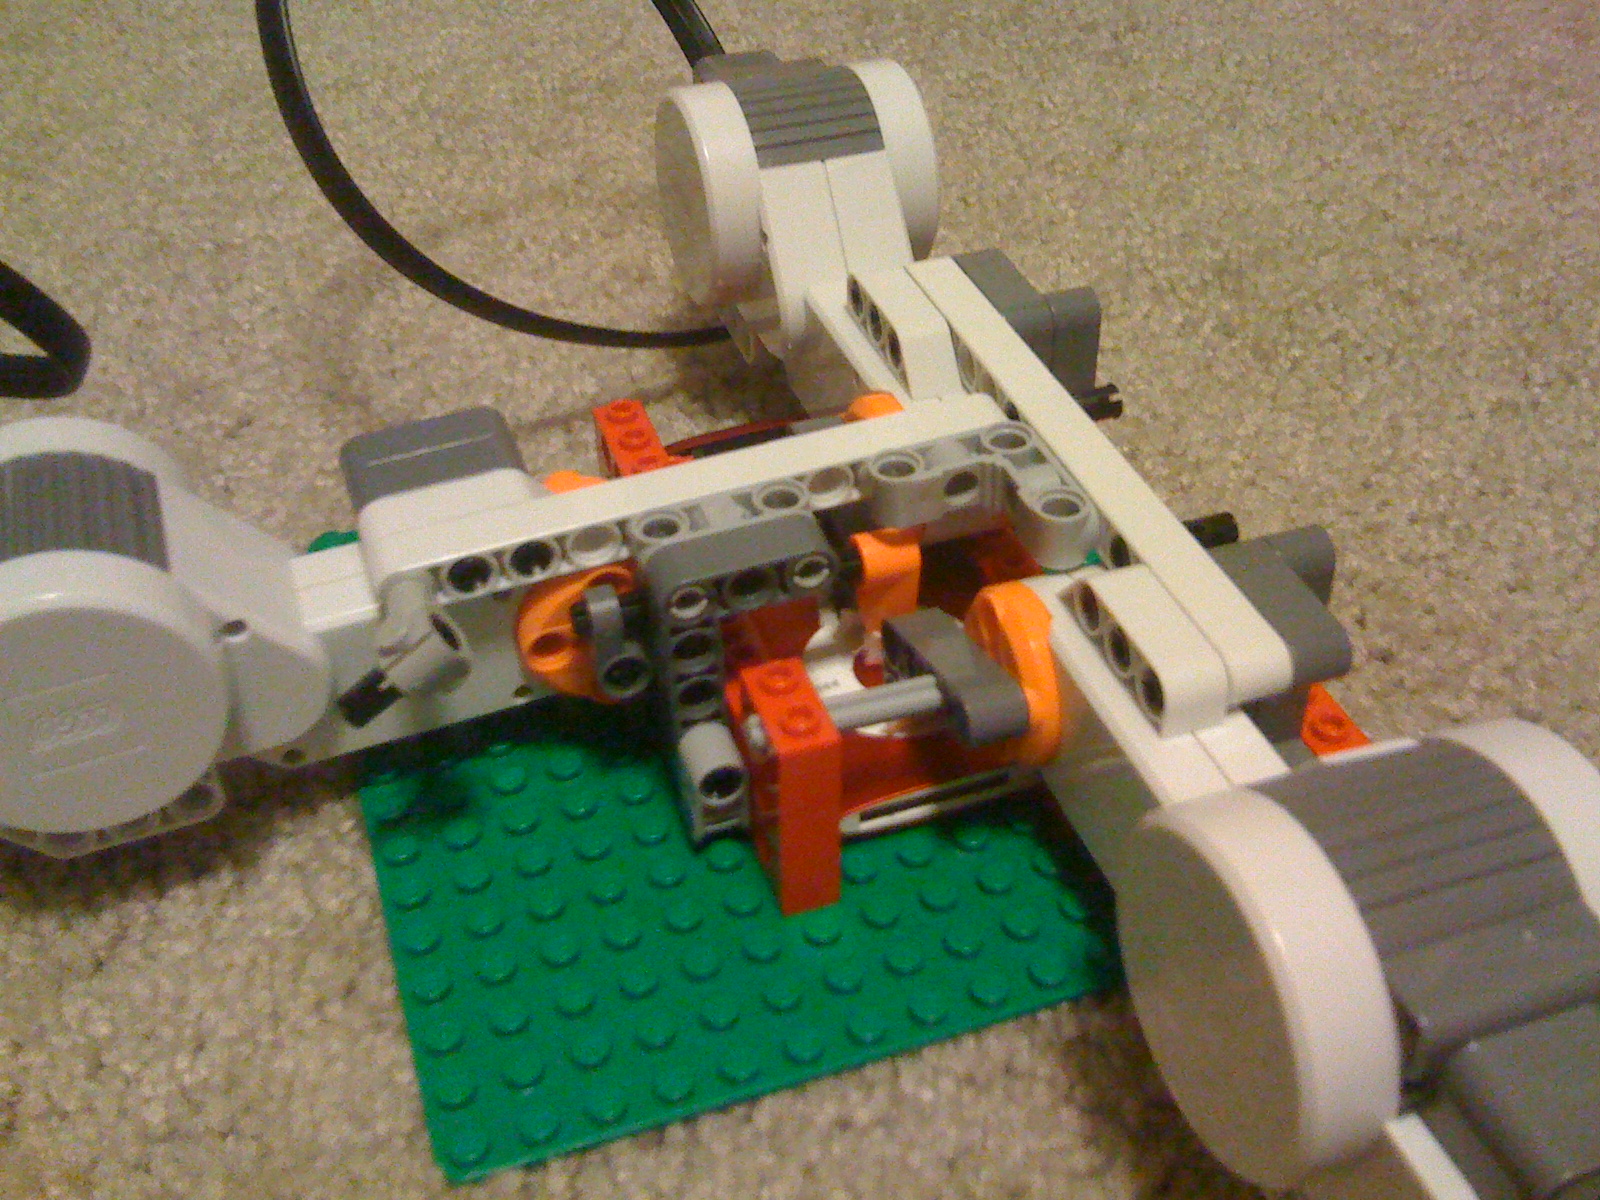
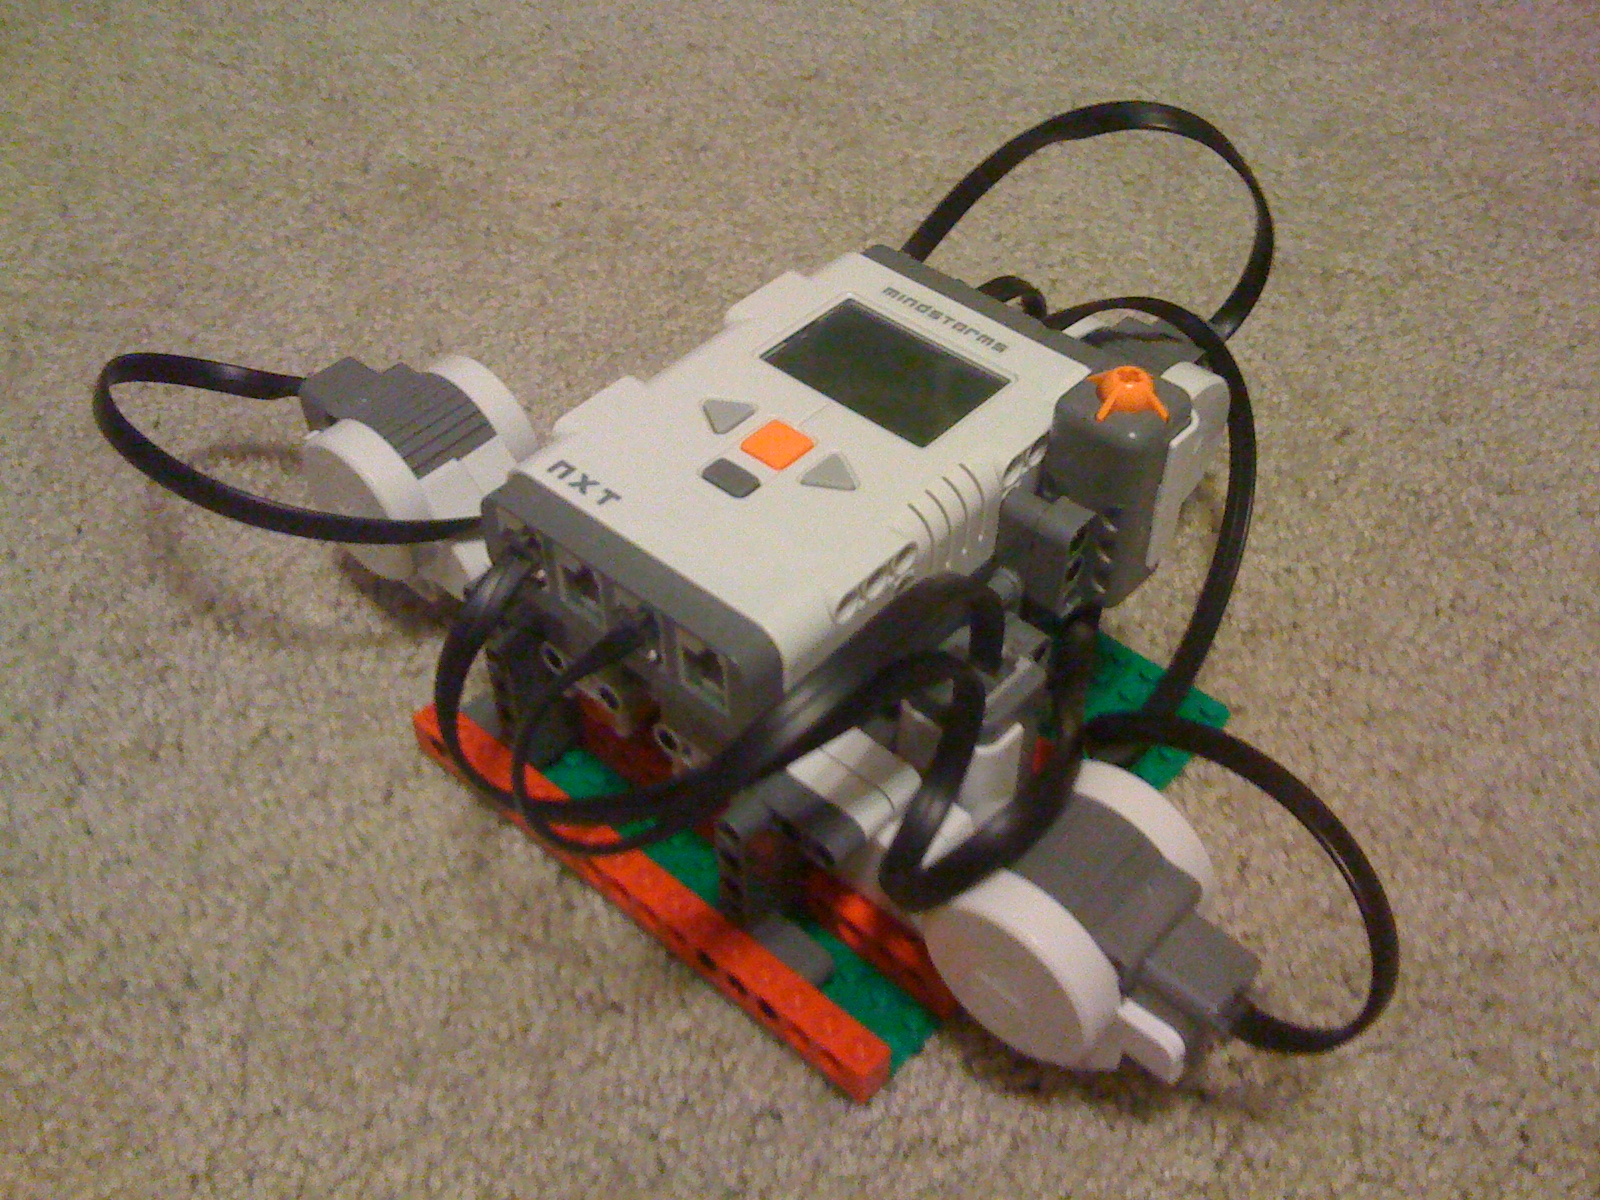
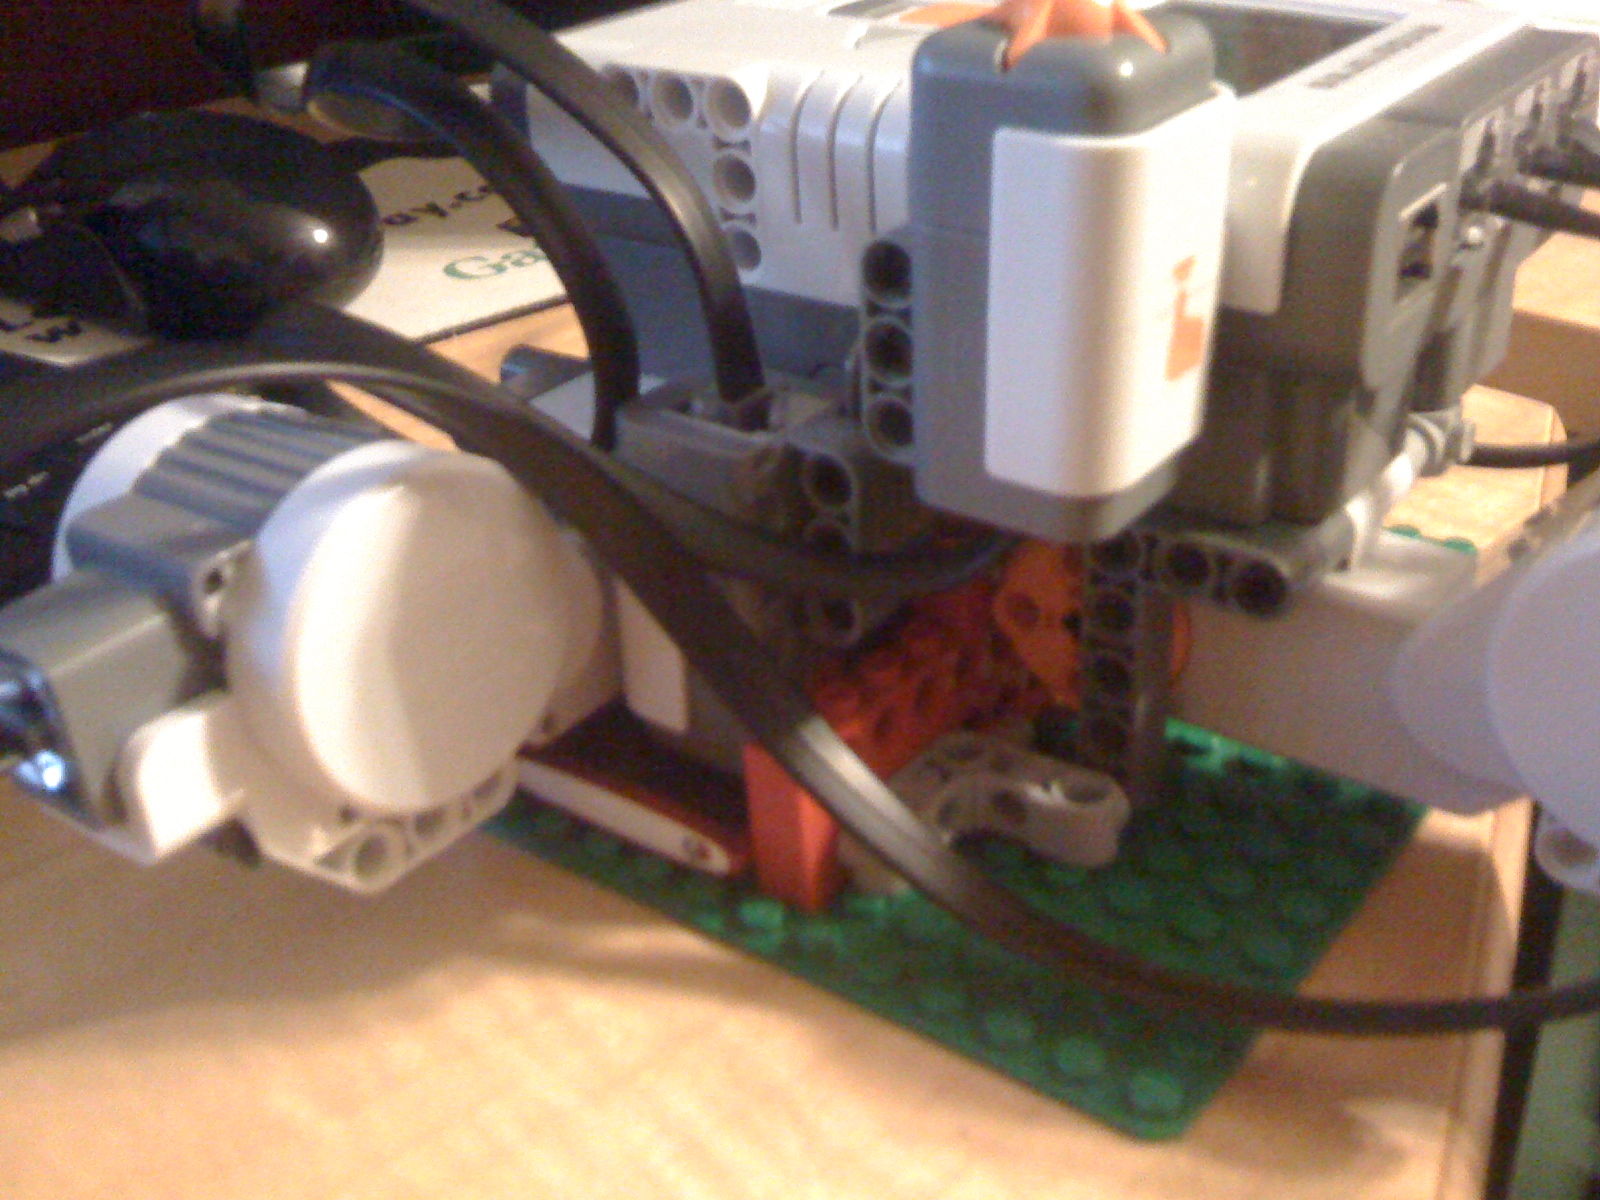
My Nanotron2G was designed as a hardware proof of concept, and as a development platform for the software (and thus was the first one to actually work). It's designed for a Nano 2G, but adapting it to other players should be easy. It also has the advantage that the Nano can easily be removed from it. This Nanotron will probably never do real bruteforcing work, though, as I currently don't have a player that hasn't already been cracked. It took me about 4 hours to design and build that. If you need information on how to build it, just ask. The pictures aren't up to date any more, as I have replaced parts of the front construction by technic bars for enhanced stability. The moving parts have stayed the same, though.
Specific technical details of my nanotron
- light sensor is connected to sensor port 1 and faced in direction of the screen (~1mm above it).
- motor for pressing the menu+select combo is connected to motor port A
- motor for pressing the select+play combo is connected to motor port C
cmwslw
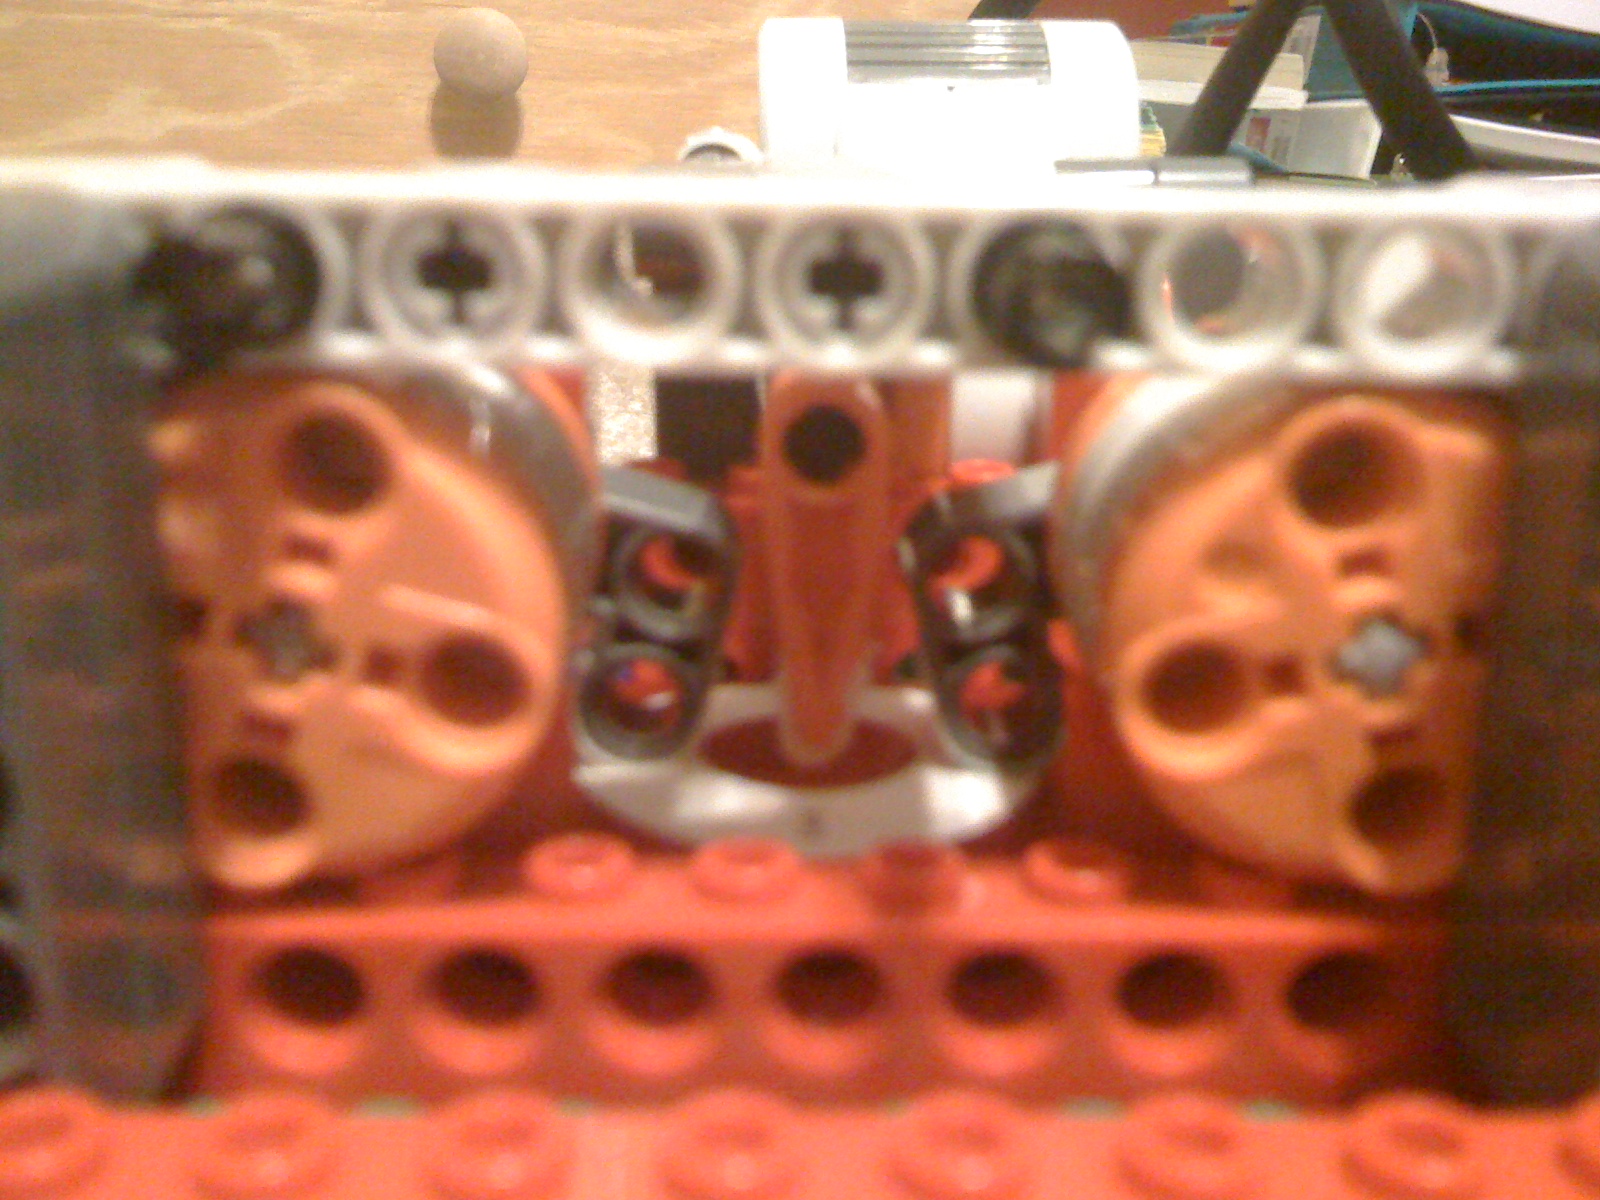
My Nanotron is currently the only NXT-based one. I am working on the software for this using the nxt-python module. Instead of using diagonal rods to press buttons down, this uses 3 motors to use levers to press the buttons. It also has a light sensor (for backlight detection), and a touch sensor (for debugging and user intervention). Hopefully this design will prove to be very reliable.
tucenaber
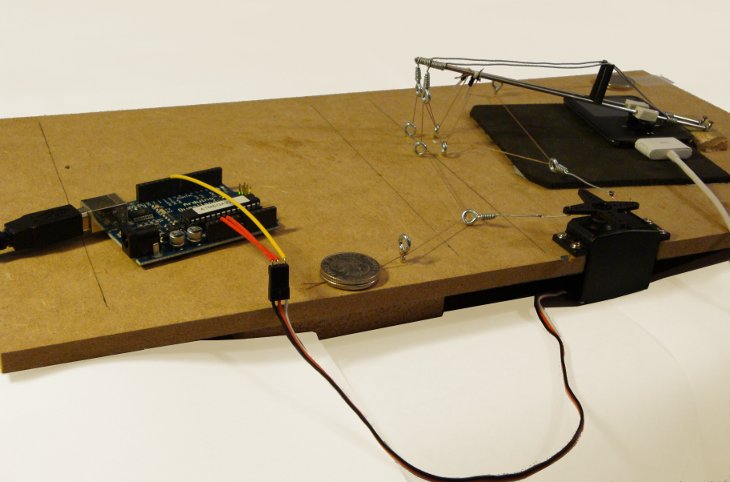
This nanotron is built from stuff I either had or could buy cheaply and is constructed for hacking the Nano 3g. The main parts are the servo motor and the Arduino microcontroller. Both are extremely cheap and the whole thing is powered entirely through USB. The two arms which rests on one rubber rings each, comes from a bicylce wheel and as can be seen in the pictures they bent too easily and had to be reinforced by steel wire. One such ring, when placed correctly, is enough to push down two buttons on the iPod simultaneously. The servo was also not entirely up to the task which explains the complicated pulling arrangement. The Arduino program is five lines long, and on the whole it is extremely easy to set up.
Technical details for 4G
- Time to hold down menu and center buttons to restart: exactly 5 seconds
Cable disconnected
- Time to reboot to main menu: 17.5 seconds
- Time to reboot to disk mode: 2-3 seconds depending on how quick you can press it
Cable connected
- Time to reboot to main menu: 35 seconds
- Time to reboot to disk mode: 11 seconds
For some reason booting up with the cable connected doubles the time to boot up, but we pretty much have to use the cable.
Using the times I've gathered, we can make a timeline of how our process will work, starting from disk mode:
- Take off old note file, put in new one (half a second)
- Hold down menu and select to reboot (5 seconds)
- Wait for boot (35 seconds)
- Find out what state the iPod is in and react accordingly (5 seconds if we have to force reboot)
- Boot to disk mode and start from beginning (11 seconds)
So the amount of time to test one file would take roughly 56.5 seconds (most likely 60 seconds with some delays in between). With that time we can test about 1440 files a day. With a 16-byte step (4 instructions, maybe we should do 2?) we could bust through a whopping 23040 bytes a day (0x5A00). Some addresses will have to be skipped for UTF-8 reasons.
We might end up having to try both the freeze and the crash files for the same address, which would double the time, but still be very practical.
TODO: work out ways from the robot's perspective to determine how the iPod reacts to the notes file. The easiest way seems to use the backlight, but this needs to be looked into. Perhaps we could use the iPod's USB status to tell...
Testing for freeze
Currently, the easiest way to test for a working iPod is to look for a line similar to: [ 9275.123081] scsi 17:0:0:0: Direct-Access Apple iPod 1.62 PQ: 0 ANSI: 0 in the kernel logs. There is a delay of a few seconds before this is displayed. Frozen iPods will either keep generating USB errors or show nothing at all (if the cable was plugged in late). Careful attention will need to be made to make sure past log entries do not interfere with the current test. Perhaps we could fiddle with the log level/verbosity to only show important info. If anyone knows an easier way to test this, let us know.
TODO: post kernel logs and investigate reboot log behavior
